Building Your First Raised Garden Bed: A Step-by-Step Guide
If someone asked me to recommend one single thing that would make them a more successful gardener, I'd say 'build a raised bed.' Not buy better tools. Not read more books. Build a raised bed. They solve so many common gardening problems at once that they almost feel like cheating.
Bad soil? Doesn't matter — you fill the bed with your own perfect mix. Poor drainage? Raised beds drain beautifully by default. Weeds? Dramatically reduced because you're starting with clean soil. Back pain? You're gardening at a comfortable height. Critters? Much easier to protect a raised bed with a simple frame and row cover. I built my first raised bed twelve years ago, and I now have eight of them. They're the backbone of my vegetable garden.
Why Raised Beds Work So Well
The core advantage of a raised bed is control. You control the soil composition, drainage, and structure from the start instead of spending years trying to improve your native soil. The soil in a raised bed warms up faster in spring (sometimes 2-3 weeks earlier than ground soil), letting you plant sooner. And because you never walk on the soil inside the bed, it stays loose and uncompacted — plant roots can spread easily and drainage stays excellent.
There's a psychological benefit too: a raised bed defines your garden space. It makes the project feel manageable instead of overwhelming. A 4x8 foot bed is something you can plant, maintain, and harvest without it ever feeling like a chore. That containment is genuinely powerful for staying motivated.
Choosing the Right Size
Width: 4 feet is the magic number. You can comfortably reach the center from either side without stepping on the soil. If the bed will be against a wall or fence, go 2-3 feet wide since you'll only access it from one side. Wider than 4 feet and you'll inevitably step in it, compacting the soil you worked so hard to create.
Length: Whatever fits your space. 8 feet is the most popular because standard lumber comes in 8-foot lengths, meaning zero waste. But 4x4 or 4x12 work too. I'd rather have two 4x8 beds with a path between them than one 4x16 bed — the paths matter more than you'd think for access and maintenance.
Depth: 12 inches is ideal for most vegetables. This gives plenty of root room for tomatoes, peppers, and root crops. You can go as shallow as 6-8 inches for lettuce, herbs, and shallow-rooted crops, but 12 inches gives the most versatility. Deeper beds (18-24 inches) are great for accessibility but require significantly more soil to fill.
Materials: What to Build With
Cedar is the gold standard. It's naturally rot-resistant, contains no chemicals, looks beautiful, and lasts 10-15 years. The downside: it's expensive. A 4x8 bed from 2x12 cedar boards will run about $150-200 in lumber alone. But amortized over a decade of growing, that's $15-20 per year for a garden bed that works flawlessly.
Untreated pine or fir is the budget option at about $40-60 for the same bed. It'll last 3-5 years before rotting significantly. That's honestly fine — by the time it breaks down, you'll know enough about gardening to decide whether you want to upgrade to cedar, try a different size, or stick with pine.
What about pressure-treated lumber? Modern pressure-treated wood (ACQ — alkaline copper quaternary) is considered safe by most experts, including university extension services. The old CCA (chromated copper arsenate) lumber was genuinely concerning, but it was banned for residential use in 2003. I use untreated or cedar near edibles and pressure-treated for decorative beds, but many experienced gardeners use modern PT lumber for vegetables without concern.
Alternative materials: corrugated metal stock tanks are trendy and nearly indestructible. Concrete blocks are cheap and last forever (though they can leach lime, slightly raising soil pH). Stone is gorgeous but expensive and labor-intensive. Avoid old tires, railroad ties (soaked in creosote), or any painted/stained wood of unknown origin.
Building a Basic Bed: It's Easier Than You Think
For a standard 4x8 bed from 2x12 boards, you need: three 8-foot boards (two for the long sides, one cut in half for the short sides), exterior-grade screws or structural screws, a drill/driver, and a saw for the one cut. That's it.
Assembly takes about 20 minutes. Lay the boards on a flat surface, pre-drill two holes at each corner, and drive screws through the long boards into the ends of the short boards. Flip it right-side up, carry it to your chosen spot, and level it as best you can. If the bed will be on grass, you can lay cardboard on the ground first — it'll smother the grass and decompose over time.
Pro tip: add a center support across the 8-foot span. Long boards will bow outward under the weight of wet soil. A single cross-brace or a few metal mending plates on the outside prevent this. I learned this the hard way when my first bed developed a noticeable belly after one season.
Filling Your Bed: The Soil Mix That Works
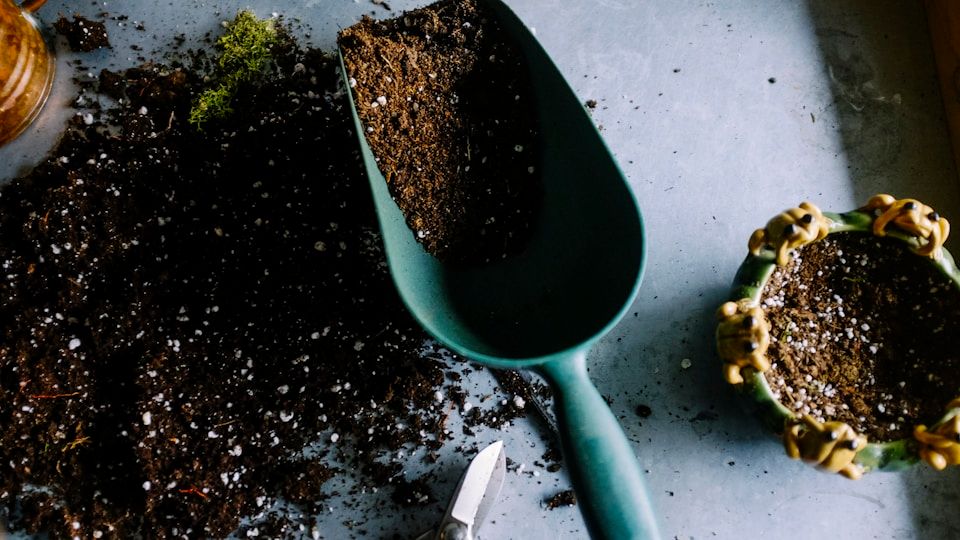
This is the part people overthink. There are a hundred soil-mix formulas online, but here's what I've used for a decade with consistently excellent results: roughly equal parts topsoil, finished compost, and a drainage amendment (perlite, coarse vermiculite, or even coarse sand).
For a 4x8x1-foot bed, you'll need approximately 32 cubic feet of soil mix. Buying bagged soil from a garden center is convenient but expensive ($100-150). Buying in bulk from a landscape supply yard is much cheaper ($30-60 for the same amount). If you have a truck or can borrow one, bulk is the way to go.
Don't fill the bed to the absolute brim — leave about an inch of space below the top for mulch and to prevent soil from washing over the edges when you water. Once filled, water the bed deeply and let it settle for a day or two before planting. It will settle an inch or so, which is normal.
What to Plant First
Your first raised bed should deliver easy wins to build confidence. My recommended starter lineup for a single 4x8 bed: two tomato plants (along the north end so they don't shade everything else), one pepper plant, a row of bush beans, a row of lettuce, some radishes between slower crops, and a few herb plants along the south edge where you can easily snip them while cooking.
Use square foot gardening spacing to maximize your harvest. The basic idea: divide your bed into 1-foot squares and plant a specific number of plants per square based on their size. One tomato per square, four lettuce per square, nine spinach per square, sixteen radishes per square. This intensive spacing means no wasted space and less room for weeds.
Maintaining Your Beds Year After Year
At the end of each season, remove spent plants and add 1-2 inches of fresh compost on top. Don't till or turn the soil — just let the compost sit and the worms will work it in over winter. By spring, the soil will be rich, loose, and ready for planting.
If the soil level drops over time (it will, as organic matter decomposes), top up with fresh compost each spring. Rotate your crops — don't grow tomatoes in the same spot two years in a row. In winter, either plant a cover crop or mulch heavily to protect the soil.
A well-maintained raised bed is a gift that keeps on giving. The soil gets better every single year as organic matter accumulates and the soil food web flourishes. My oldest beds, now twelve years in, produce better than ever. That's the beauty of building healthy soil — it compounds, like interest in a savings account. Your best harvests are always ahead of you.