Growing Tomatoes From Seed to Sauce
I grow an embarrassing number of tomatoes. Last year it was 24 plants — which, for a household of two, is approximately 20 plants too many. But I can't help myself. Every winter, the seed catalogs arrive and I'm sucked in by descriptions of heirloom varieties I haven't tried yet: 'Complex flavor with notes of wine and earth.' 'The sweetest cherry tomato ever bred.' I'm powerless against this kind of marketing.
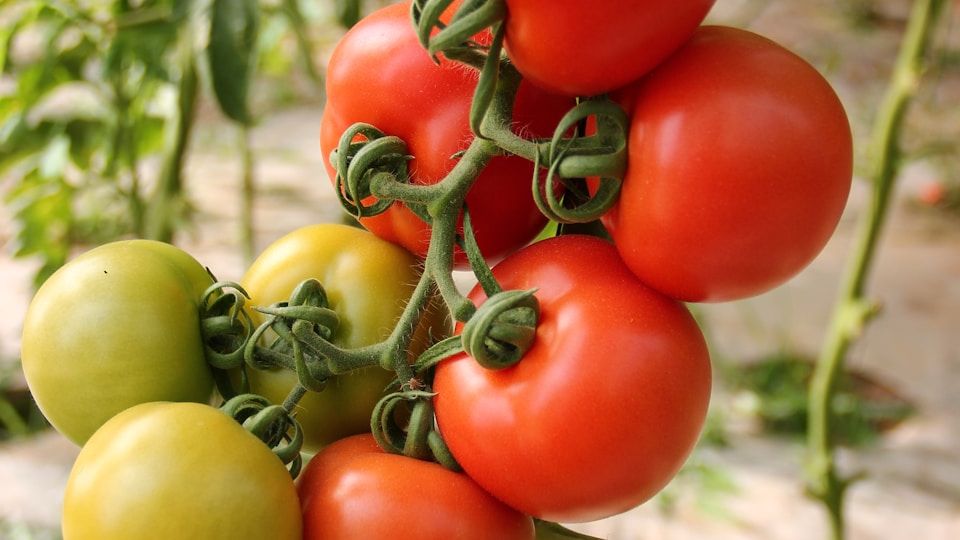
But here's my excuse: homegrown tomatoes are one of life's genuine pleasures. The gap between a store-bought tomato (bred for durability, picked green, gassed with ethylene to turn red) and a vine-ripened garden tomato (bred for flavor, picked warm from the sun) is vast. It's like comparing freeze-dried coffee to a freshly pulled espresso. Once you've grown your own, you truly cannot go back.
Understanding Tomato Types
Before you plant anything, you need to know the difference between determinate and indeterminate varieties, because they behave very differently in the garden.
Determinate (bush) tomatoes grow to a fixed height (usually 3-4 feet), set all their fruit at roughly the same time, and then decline. They're great for canning because you get one big harvest. They need minimal staking — a basic cage is enough. Good varieties: Roma, Celebrity, and Glacier.
Indeterminate (vining) tomatoes keep growing and producing until frost kills them. They can reach 6-10 feet tall and need serious staking or caging. They produce fruit continuously all season, which is ideal for fresh eating. Most heirloom and cherry tomatoes are indeterminate. Good varieties: Cherokee Purple, Brandywine, Sun Gold, and San Marzano.
There's also a third category you'll see on some packets: semi-determinate. These grow larger than determinates but eventually stop, usually around 5 feet. They're a nice middle ground. Mountain Magic is an excellent semi-determinate variety with great disease resistance.
Starting Seeds: The Six-Week Head Start
Start seeds indoors 6-8 weeks before your last expected frost date. This is non-negotiable in most climates — tomatoes need a long growing season (typically 60-90 days from transplant to first ripe fruit), and starting from seed gives you access to thousands of varieties that nurseries don't carry.
Use a sterile seed-starting mix (not garden soil, which can contain disease organisms), moisten it until it's like a wrung-out sponge, and press seeds 1/4 inch deep. Place trays on a heat mat set to 75-80°F — warmth is the single biggest factor in germination speed. You should see sprouts in 5-10 days.
Once seedlings emerge, light is critical. A sunny south-facing window works but often produces leggy seedlings reaching for insufficient light. A simple shop light with cool-white LEDs hung 2-3 inches above the seedlings for 14-16 hours daily produces stocky, strong plants. Lower the light as close as possible without touching the leaves.
When seedlings develop their first 'true leaves' (the second set, which look like tiny tomato leaves rather than the initial rounded seed leaves), transplant into individual 4-inch pots. Handle seedlings by the leaves, not the stem — a damaged leaf can be replaced, but a crushed stem is fatal. Feed weekly with a half-strength liquid fertilizer.
The Transplanting Secret That Changes Everything
Here's the single most important tomato-growing tip I know: bury them deep. When you transplant tomatoes into the garden, remove the bottom 2/3 of the leaves and bury the stem up to the remaining top cluster. Tomatoes have a remarkable ability to root along any buried portion of their stem. These adventitious roots dramatically increase the plant's root system, making it more drought-resistant, more stable, and better able to access soil nutrients.
I've tested this side by side. Plants buried deep outperform normally planted ones every time — they're bigger, produce more fruit, and handle dry spells better. It's counterintuitive (you're burying a perfectly good plant up to its neck), but it works.
Time your transplanting for after your last frost date, when nighttime temperatures are consistently above 50°F. Tomatoes set outdoors too early will sulk, turn purple from cold stress, and take weeks to recover. A week of patience in spring saves a month of catch-up later.
Staking, Caging, and Support
Tomatoes need support — even 'bush' varieties benefit from caging. Unsupported plants sprawl on the ground where fruit rots, slugs feast, and diseases thrive. The three main options:
Wire cages: The classic approach. Buy the largest, sturdiest cages you can find (the flimsy $3 cones from the garden center are useless for indeterminate varieties — they'll topple by July). Or make your own from concrete reinforcing wire (5-foot tall, rolled into 18-inch diameter cylinders). These are the best cages I've ever used.
Stakes: A 6-8 foot wooden or metal stake with the plant tied loosely as it grows. This requires regular tying and more aggressive pruning but produces excellent air circulation. It's the preferred method for heirloom growers who want maximum-quality fruit.
Florida weave: For multiple plants in a row, this system uses stakes every 2-3 plants with twine woven between them as they grow. It's efficient and works beautifully for large plantings. Plenty of video tutorials online if you want to try it.
Watering, Feeding, and the Blossom End Rot Mystery
Consistent watering is the key to healthy tomatoes. Aim for 1-2 inches per week, delivered at the base of the plant (not overhead). Drip irrigation is ideal. Inconsistent watering — going from drought to deluge and back — is the number one cause of two extremely common problems:
Blossom end rot (that black, sunken spot on the bottom of the fruit) isn't a disease or a calcium deficiency in your soil — it's a calcium transport problem caused by irregular water uptake. The plant can't move calcium to the growing fruit tip when water is inconsistent. The fix isn't adding calcium; it's watering evenly. Mulch heavily (3-4 inches of straw or shredded leaves) to maintain consistent soil moisture.
Cracking (splits in the skin of ripening fruit) happens when a heavy rain or watering follows a dry spell. The fruit expands faster than the skin can stretch. Again, consistent moisture is the prevention. Mulching helps enormously.
For feeding, tomatoes are moderate-to-heavy feeders. I side-dress with compost or apply an organic tomato fertilizer (lower in nitrogen, higher in phosphorus and potassium) when plants start flowering. Too much nitrogen gives you beautiful, enormous plants with very little fruit.
Pruning: The Debate That Divides Gardeners
Pruning tomato suckers (the shoots that emerge in the 'armpit' where a branch meets the main stem) is hotly debated among gardeners. Here's my take after years of experimenting:
For indeterminate varieties: I remove suckers below the first flower cluster and let everything above it grow. This gives the plant a strong single trunk at the base while allowing natural branching above. This is a moderate approach that balances air circulation, ease of staking, and maximum production.
For determinate varieties: Don't prune them. They have a fixed number of branches and flowers. Removing suckers directly reduces your harvest.
For cherry tomatoes: Don't bother pruning at all. They're so vigorous and productive that pruning is a losing battle. Let them run wild — you'll still have more fruit than you know what to do with.
Varieties That Have Earned Their Spot in My Garden
After trialing hundreds of varieties (I told you I was obsessed), these are my can't-live-without picks:
Sun Gold (cherry): The gateway drug of homegrown tomatoes. Intensely sweet with a tropical, almost apricot-like flavor. Incredibly productive — a single plant can yield 500+ cherry tomatoes. If you grow one tomato, make it this one.
Cherokee Purple (heirloom slicer): Dusky purple-brown, ugly as sin, and one of the best-tasting tomatoes on earth. Rich, complex flavor with smoky undertones. Worth every bit of the extra care heirlooms need.
San Marzano (paste): The gold standard for sauce. Meaty flesh, few seeds, and a concentrated tomato flavor that intensifies when cooked. Makes the best pasta sauce, pizza sauce, and canned tomatoes you'll ever taste.
Mountain Magic (hybrid): My recommendation for anyone who struggles with tomato diseases. It has genetic resistance to early blight, late blight, and several other common issues. The fruit is medium-sized, flavorful, and reliable even in difficult seasons.
Mortgage Lifter (heirloom beefsteak): Enormous pink fruits — often 1-2 pounds each. The legend goes that a gardener in the 1930s sold plants for $1 each and paid off his $6,000 mortgage. True or not, it's a fantastic sandwich tomato.
From Vine to Sauce: Closing the Loop
If you grow paste tomatoes, making your own sauce is one of the most satisfying things a gardener-cook can do. My dead-simple method: halve the tomatoes, toss with olive oil and whole garlic cloves, spread on a sheet pan, roast at 400°F for 40-45 minutes until charred at the edges, then blend (or leave chunky). Season with salt, basil, and a pinch of red pepper flakes. Freeze in quart containers.
One San Marzano plant produces enough tomatoes for roughly 6-8 quarts of sauce. Four plants will keep a family of four in homemade sauce for the better part of a year. That's a winter's worth of pasta dinners from a 4-square-foot patch of garden. If that's not magic, I don't know what is.